


Draganfly is amongst the most innovative and adaptable to field solutions for mission execution.
COUNTRY DIRECTOR, UKRAINE
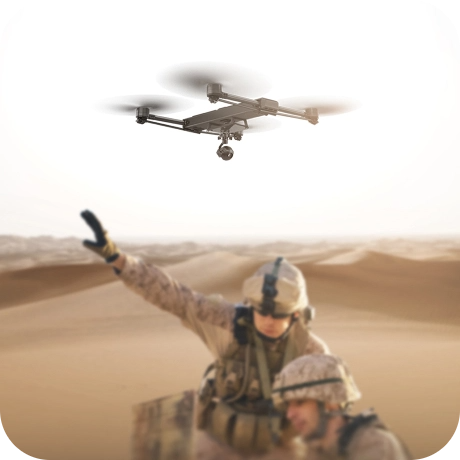
Draganfly’s technology will provide a seamless solution that keeps pilots flying even in the most difficult or remote areas during critical missions, We are extremely excited about this partnership which will provide a full drone solution using vision-based, global navigation for GPS-denied and spoofed environments for military and government contracts
DIRECTOR OF BUSINESS DEVELOPMENT, VERMEER
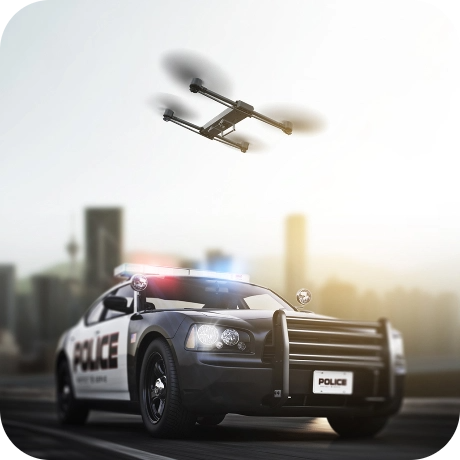
Draganfly’s drone technology is crucial in helping ensure our first responders remain safe while responding to emergencies,” said Yurii Anykiienko, International Cooperation Specialist with the Main Department of the State Emergency Service of Ukraine in Kyiv region. “Drones are the primary tools in this conflict. They provide our first responders with the necessary information to respond to operations effectively.
INTERNATIONAL COOPERATATION SPECIALIST WITH THE MAIN DEPARTMENT OF THE STATE EMERGENCY SERVICE OF UKRAINE IN KYIV REGION
Draganfly’s support has enabled us to increase our portfolio for the cruise industry,” said Klaus Vollmer, Managing Director of Lufthansa Industrial Solutions Hamburg & VP of Lufthansa Industrial Solutions Miami. “We are looking forward to a long and successful partnership.
MANAGING DIRECTOR OF LUFTHANSA INDUSTRIAL SOLUTIONS HAMBURG & VP OF LUFHTANSA INDUSTRIAL SOLUTIONS MIAMI
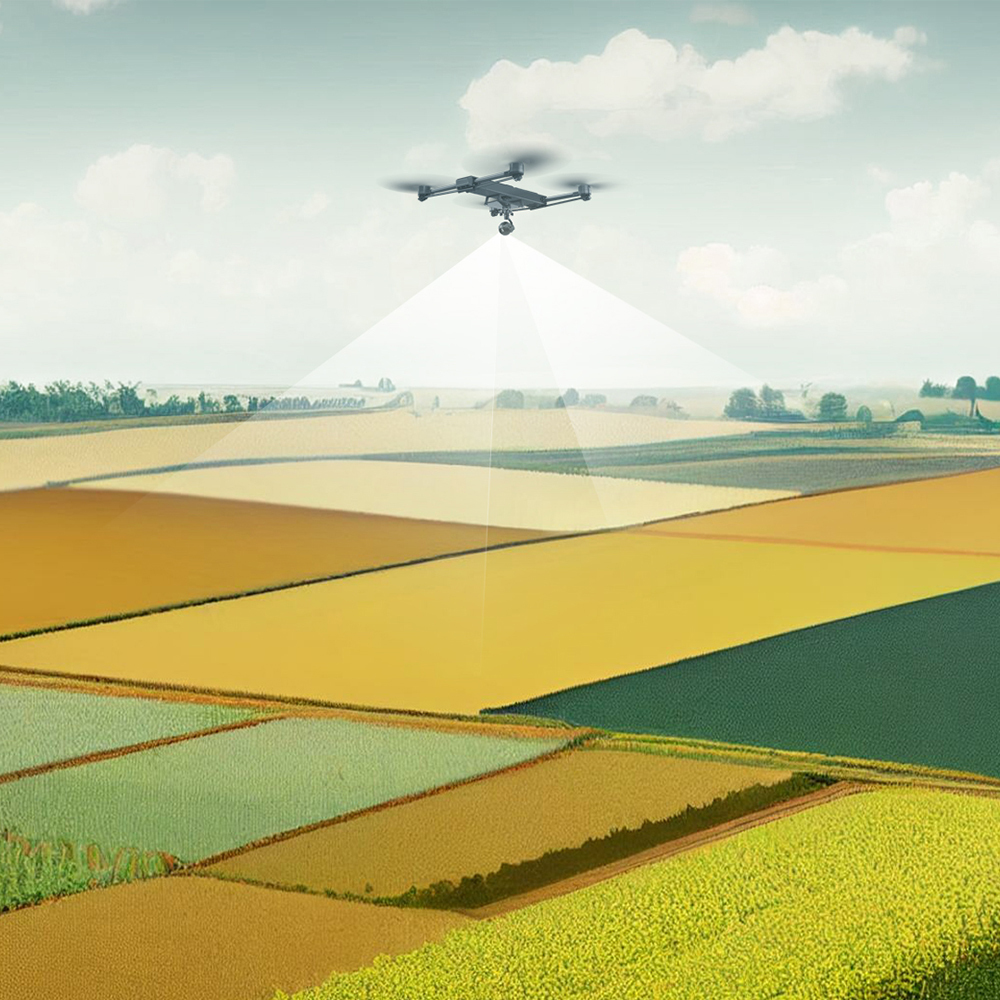
We live and operate among vast spreads of land controlled by the US government,” said Curtis Pate, Owner of Agtegrity. “We wanted to find a drone solution that would provide us with the best ROI and help the overall growth of our business. Extended flight time and a PPK (Post Processed Kinematic) option were priorities in our search. That's when we found the Swiss Army Knife of drones: Draganfly’s Commander 3XL. The improved flight times of this platform will lead to better production. The platform's versatility will enable us to multitask between our imagery mapping and heavier payloads. We look forward to the arrival of the Commander 3 XL.
OWNER OF AGTEGRITY
We are very excited to collaborate with Draganfly to enhance counter-drone technology further,” said Jack Jia, Founder and CEO of Bluvec. “This will undoubtedly have a major impact on the ability to deeply incorporate UAS and UAV solutions into civil and military threat detection management and intervention.
FOUNDER AND CEO OF BLUVEC
It is an honor to partner with Draganfly, a global UAV leader, to inspire more women to pursue careers in STEM and aviation, with an emphasis on UAS and AAM. Together, we look forward to bolstering diversity, equity and inclusion in the drone industry, which will improve business outputs and profitability,” said Sharon Rossmark, CEO of Women And Drones.
CEO OF WOMEN AND DRONES
I am incredibly grateful for the opportunity to learn from the experts at Draganfly. Drones continue to play a significant role in everyday life, and it is essential that we understand how to safely operate them,” said Angela, an ASU student.
ASU STUDENT